BREAKING NEWS

"This Is Your SEO" The Words You Want @Google

"This Is Your SEO" The Words You Want @Google

In the Post field make sure you have the keywords that you would like to be found with in a search at Google. This is your SEO, short for Search Engine Optimization. SEO is the words found on your webpage. Use the words your target audience would search for. Because "This Is Your SEO"

Next Up, How to write your "Man Bytes Dog!" or "Your Social SEO"

How To: "This Is Your Social SEO"

This Is Your Social SEO


This is your man bytes dog, the very first line of your post this should be remarkable, or at least interesting, and it should most certainly be conversational, and no longer than 120k (this first thought can also become your search description) "Man Bytes Dog Is Your Social SEO"

Next echo your SEO here in the second paragraph and tell how you are going to show me "This Is Your SEO" or "The Words You Want @Google" Tell me a story!

Lastly thank your readers, viewers and lurkers and give them a call to action. If you think this post helped you understand a little more about "This Is Your SEO" & "This Is Your Social SEO"  please share with your preferred networks.

How To: Post to Draft @Blogger in 8 Steps

Blogger Updated,
New Walk thru here for steps #3 forward  "This Is Your SEO"


Step 1. Go to http://draft.blogger.com 

sign in with your @gmail address 

if you are on your home computer, check "Stay signed in"

"Blogger in Draft" is where all the cool stuff rolls out first to Blogger. 


Step 2. Click the "Orange Pencil" for the blog you want to post to.

Note, if you have more than one blog, the last blog you posted to will be at the top.


Step 3. Write a "Post Title" in the title field & write your blog in the "Post Body"

You have all the formatting options right above the post body, click to change the font, font size, add a photo or a link etc. 


Step 4 click on "Post settings" to the right of your posts body, this will pop out,  "Labels, Schedule, Location & Options."


Step 5.  Add a "Label" to your post.

Remember, the internet is not a searching problem, it is a sorting one. 

Curate the content you create!


Step 6. Schedule your post.

By selecting "Automatic" your post will be posted immediately. 

By selecting "Set date and time" you can choose a time in the future that your post will be posted to the blog.


Step 7. Search for and set the "Location" of your post.


Step 8. Click "Publish"

After you click visit your post and proofread it.

You should read your post out loud as your ear is the best editor you have.


Using Twitter To Listen #CSLCV

When you login to Twitter via your gmail address you will be Home.

From Home you can tweet to your followers, to the left Click on Compose new Tweet.

From Home on the right you will see tweets and retweets from everyone you follow.

Mouse over any tweet to reply or @ the person tweeting.

Mouse over any tweet to retweet and share with your followers

Mouse over any tweet to favorite to your favorites archive.


Click the @ Connect tab to view @'s and other interactions.

An "@" or an "At" is someone talking to or about someone on Twitter.

From the Connect Tab you will also be able to see who has followed you and who has retweeted your tweets.

When someone follows you, your tweets will end up in their Home,

When someone retweets you your tweets will also end up in their Home for everyone that follows them to view.

Tweet Well!


The last tab is "Discover" this is where you can search twitter for what interests you.

For this we will use #CSLCV by adding a hashtag in front of any word at twitter you make that word searchable, by clicking on #CSLCV you will only see tweets tagged by the tweeter with the #CSLCV hashtag there by creating a virtual space on twitter for people to connect and share.

So Tweet out to @DarinRMcClure and @LisaMcClure so we know you are there!

Questions? feel free to ask in the comments.

Into Your Gmail Inbox #iaswaga

Welcome to your inbox, this is your jumping off point.

With your new @gmail address you will be able to move all of your important documents and photos onto the cloud, you will also be able to use shared calendars and write your own novel, the choice is up to you.


Click on Google, to save your videos at youtube, to view your calendar,  to upload your music, to blog, to listen like the bionic human to the things that matter with reader & to upload all your photos to the cloud.

If we can get you to your inbox we can go anywhere.


The social site that IOS comes built in with, (iPhones, Ipads, Ipods, Dishwashers...) is twitter,

Twitter is a place to listen and is the most important social networks out there during a disaster and why we teach that first.

Go to Twitter.com and sign up with your new gmail address!

It All Starts With A Gmail Address #iaswaga


Step #1 Get a "Gmail" account, Gmail is email from Google, it is free to use and is your hub for all the social activities on the internet.

Go to 
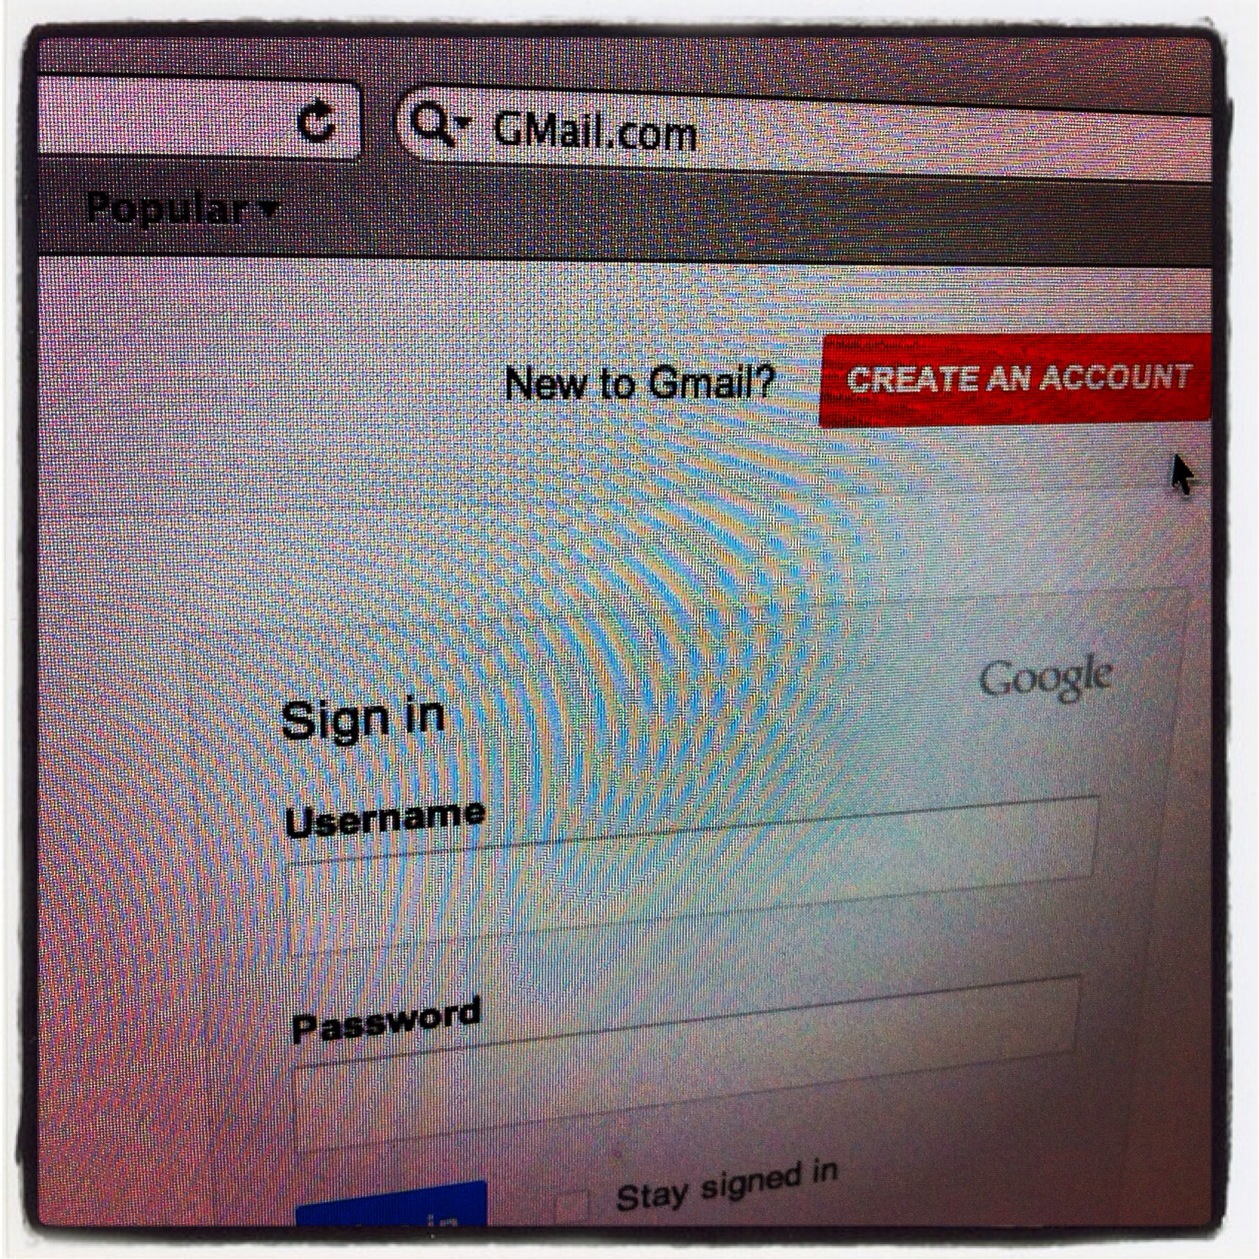
http://GMail.com now

and click "CREATE AN ACCOUNT" on the right in red.


Enter your First and Last Name,  next you will need to choose your username. Since @Gmail has millions of users your best bet for finding an open name is to first try: 

"FirstName.MiddleInitial.LastName"

Next you must create a password, but instead of a password, We want you to make it more secure with a pass phrase or a string of words that you will easily remember.

and to make that pass phrase secure, mix in numbers and letters in a way that you will easily remember.

ThisIsAPassPhrase becomes
Th1$1S4P4$$Phr4$3 for example

Next give your birthday, your gender, your mobile phone number and your main email address if you already have one, if not you can leave this field blank.

Now you will need to pass the captcha to prove that you are not a robot.

Give your location by country

Check "I agree to the Google Terms of Service and Privacy Policy"

and leave checked "Google may use my account information to personalize +1 content"

Click Next Step bottom right in blue


Next click the red "Add Profile Photo" button and navigate to where you have your image saved.

You should use your real picture not a picture of your cat.


After you have uploaded your image you will be able to crop it to fit the space or flip it around as needed.

Once you have your profile image to your liking click the blue "Set as profile photo" button bottom right.


You will get a chance to make any changes you would like or just click the blue "Next step" button to proceed


You're all set!

To change or update any of the settings you just set, click on your profile icon top right.


Lastly click the blue "Continue to GMail" button, bottom left to advance into your new gmail account.


Copyright © 2014 Internet marketing service in Nashville, Tennessee (615) 669-9584‬